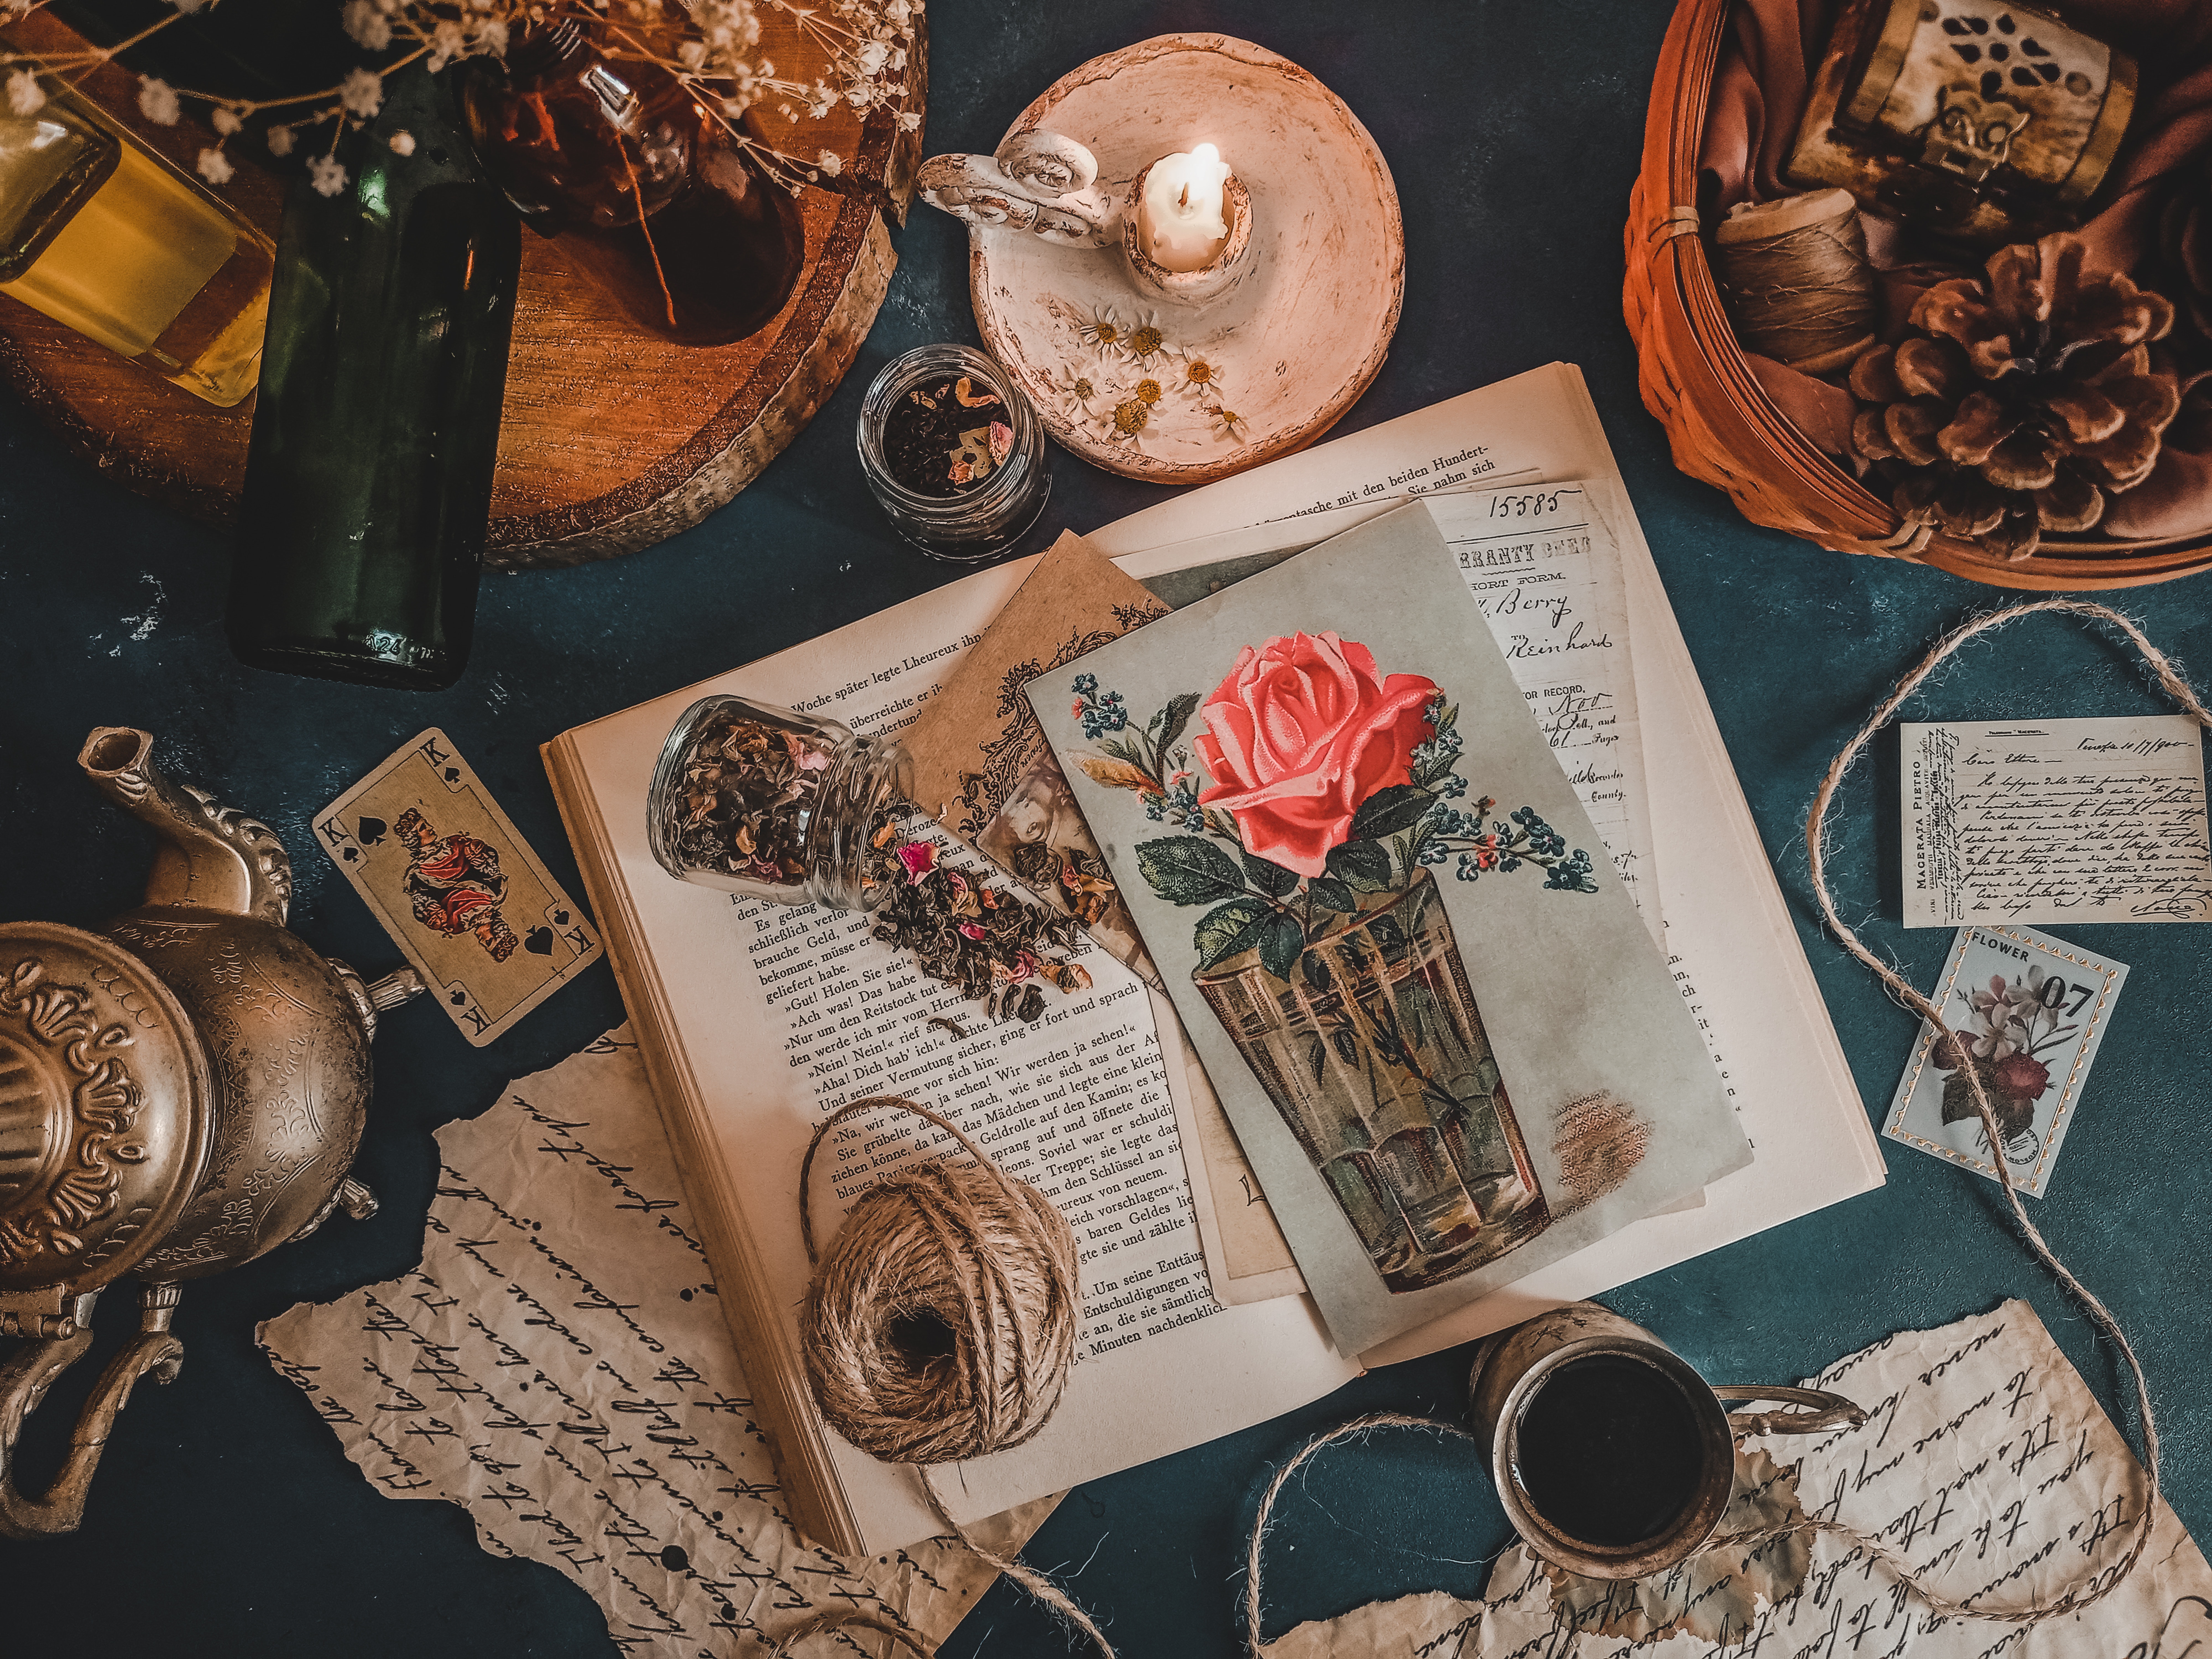
Do you have many special memories you don’t want to forget, but nowhere to keep them?
Whether it's a collection of photos and mementos from a trip or a catalog of your childhood memories, a Life Stories Book is a fun and creative way to keep those memories alive. There are so many mental and physical health benefits to logging your life.
We’ve compiled seven essential steps that you can follow to create your very own Life Stories Book.
Let’s dive in!
1. Gather Your Materials
First, you'll need to gather all the materials you'll need to create your Life Stories Book. This will include a scrapbook or photo album, scissors, glue or adhesive, and any other decorative items you'd like to use (such as stickers, ribbons, or glitter). You'll also need photos and other mementos that you want to include.
2. Choose a Theme
Before you start putting your Life Stories Book together, choosing a theme for your book can be helpful. This could be lessons you learned in life, annual family vacations, or the type of relationships or hobbies you’ve had. Choosing a theme will help you organize your book and make it more cohesive.
3. Organize Your Photos and Mementos
Once you have all your materials, it's time to organize them. Try to sort your pictures and mementos chronologically so your book tells the story of your journey or event in order. Or, you could assemble it by theme, focusing on a different memory or topic. For example, a book about family vacations can be organized by destination. If you’re looking for a place to do both, join My Stories Matter for free. On My Stories Matter, we automatically collect your memories into a timeline and help you group your memories.
4. Start Putting Your Life Stories Book Together!
Begin laying out your photos and mementos on a flat surface, and arrange them to appear in your book. If you're using a scrapbook, you can use adhesive to attach your photos and mementos to the pages. You can slip your images into photo sleeves or slots provided using a photo album.
5. Add Captions and Other Details
As you arrange your photos and mementos in your Life Stories Book, add captions and other details to help tell the story of your memories. Include the date and location of each image and any interesting stories or information on the memory you want to share. For example, add what you felt or what happened right before and after the photo was taken. This will help bring your memories to life and make your memory book more interesting. If you have black and white photos and want them colorized for free, upload them to memory on My Stories Matter.
6. Review and Make any Necessary Changes
Now, take some time to review and make any necessary changes. This could include rearranging your photos and mementos, adding or removing any elements, or making other changes that will help improve your book. Once satisfied, you can consider it complete and ready to share with others.
Create a Life Stories Book on My Stories Matter
By following these steps, you can create a beautiful and personal Life Stories Book that you'll be proud to share with others.
But the best place to do this is in My Stories Matter, where you can record your memories and life stories for free and get a beautiful Life Stories Book designed. Once you publish memories on My Stories Matter, you can submit your memories to be made into a book. Our team designs the book and coordinates details with you via email. You’ll get to choose between cover options, hardcover vs. softcover, paper quality, etc., to fit any budget range. You only pay once you approve it, and we’ll send it to one of our partner print publishers. You don’t have to do anything but record your memories, submit them, and we take care of the rest! See a sample of what yours could look like!
Start creating your Life Stories Book today!
